Admin User Interface
Security
The Security area is where you manage access control for your application. Here you create users and organize them into groups, define which REST endpoints are accessible to authenticated and anonymous users, and configure cross-origin request settings for browser-based clients. The permission model supports both role-based access through groups and fine-grained object-level permissions. Each of these concerns has its own tab.
Users and Groups
The first tab displays two lists side by side: users on the left, groups on the right. Both lists are paginated and filterable, which is helpful when you have many users.
Creating Users and Groups
Click the Create button above either list to add a new user or group. If you’ve extended the User or Group types (by creating subclasses or adding the User trait to another type), a dropdown appears next to the button that lets you choose which type to create.
Organizing Your Security Model
You can drag users onto groups to make them members, and drag groups onto other groups to create hierarchies. This flexibility lets you model complex organizational structures: departments containing teams, teams containing members, with permissions flowing through the hierarchy.
Editing Users
Click a user to edit the name inline. For more options, hover over the user and click the menu icon to open the context menu.
General Dialog
Here you can edit essential user properties: name, password, and email address. Three flags control special behaviors:
- Is Admin User – Grants full access, bypassing all permission checks
- Skip Security Relationships – Optimizes performance for users who do not need fine-grained permissions
- Enable Two-Factor Authentication – Adds an extra security layer for this user
The Failed Login Attempts counter (useful for diagnosing lockouts) and the Confirmation Key (used during self-registration) are also available here.
Advanced Dialog
This shows all user attributes in a raw table format.
Security Dialog
This opens the access control dialog for the user object itself.
Delete User
This removes the account.
See the User Management chapter for detailed explanations of these settings.
Editing Groups
Groups have names and members but fewer special properties. Click to edit the name inline. Use the context menu to access the Advanced dialog (all attributes), Security dialog (access control for the group object), or Delete Group.
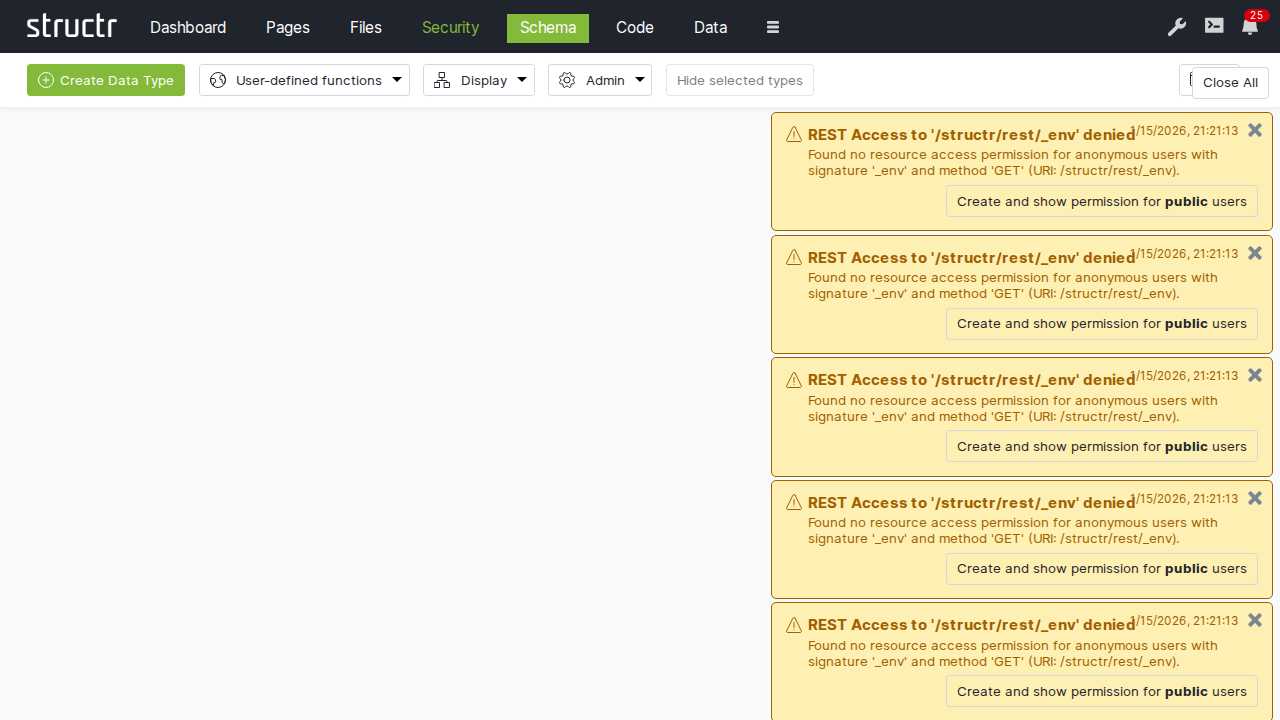
Resource Access
The second tab controls which REST endpoints are accessible and to whom.
The Resource Access Table
Each row represents a grant with:
- Signature – The URL pattern this grant applies to
- Permissions – Checkboxes for each HTTP method (GET, POST, PUT, DELETE, OPTIONS, HEAD, PATCH), separately for authenticated and non-authenticated users
Creating Grants
Enter a signature in the input field next to the Create button and click Create. For details on signature syntax and configuration patterns, see the User Management chapter.
Per-User and Per-Group Grants
Resource Access grants are themselves objects with their own access control. Click the lock icon at the end of any row to open the access control dialog for that grant.
This means you can create multiple grants for the same signature, each visible to different users or groups. One grant might allow read-only access for regular users, while another allows full access for administrators. Each user sees only the grants that apply to them.
Visibility Options
The Settings menu on the right side of the tab bar includes options for showing visibility flags and bitmask columns in the table. The bitmask is a numeric representation of the permission flags, which can be useful for debugging.
CORS
The third tab configures Cross-Origin Resource Sharing settings.
The CORS Table
Each row configures CORS for one URL path. Enter a path in the input field, click Create, then fill in the columns:
Accepted Origins
This specifies which domains can make requests. Use * to allow any origin, or list specific domains like https://example.com. This becomes the Access-Control-Allow-Origin header.
Max Age
This tells browsers how long to cache the CORS preflight response, in seconds. Higher values reduce preflight requests but delay the effect of configuration changes.
Allow Methods
This lists which HTTP methods are permitted: GET, POST, PUT, DELETE, etc.
Allow Headers
This specifies which request headers clients can send: Content-Type, Authorization, etc.
Allow Credentials
This controls whether browsers include cookies and HTTP authentication with cross-origin requests.
Expose Headers
This determines which response headers JavaScript can access. By default, only a few headers are exposed; list additional ones here.
The delete button is in the second column.
For details on CORS concepts and configuration patterns, see the Authentication chapter in REST Interface.
Related Topics
- User Management – Concepts behind users, groups, and permissions
- REST Interface/Authentication – Resource Access Permissions and CORS